
Verifying a Merkle proof means recomputing a chain of hashes from your own record up to a published root and seeing whether you arrive at the same value. It takes a minute, it needs nobody's cooperation, and the most common reason it fails is a mismatch in inputs rather than dishonesty. Knowing which failure you are looking at is what turns the check into information instead of alarm.
What you need before you start
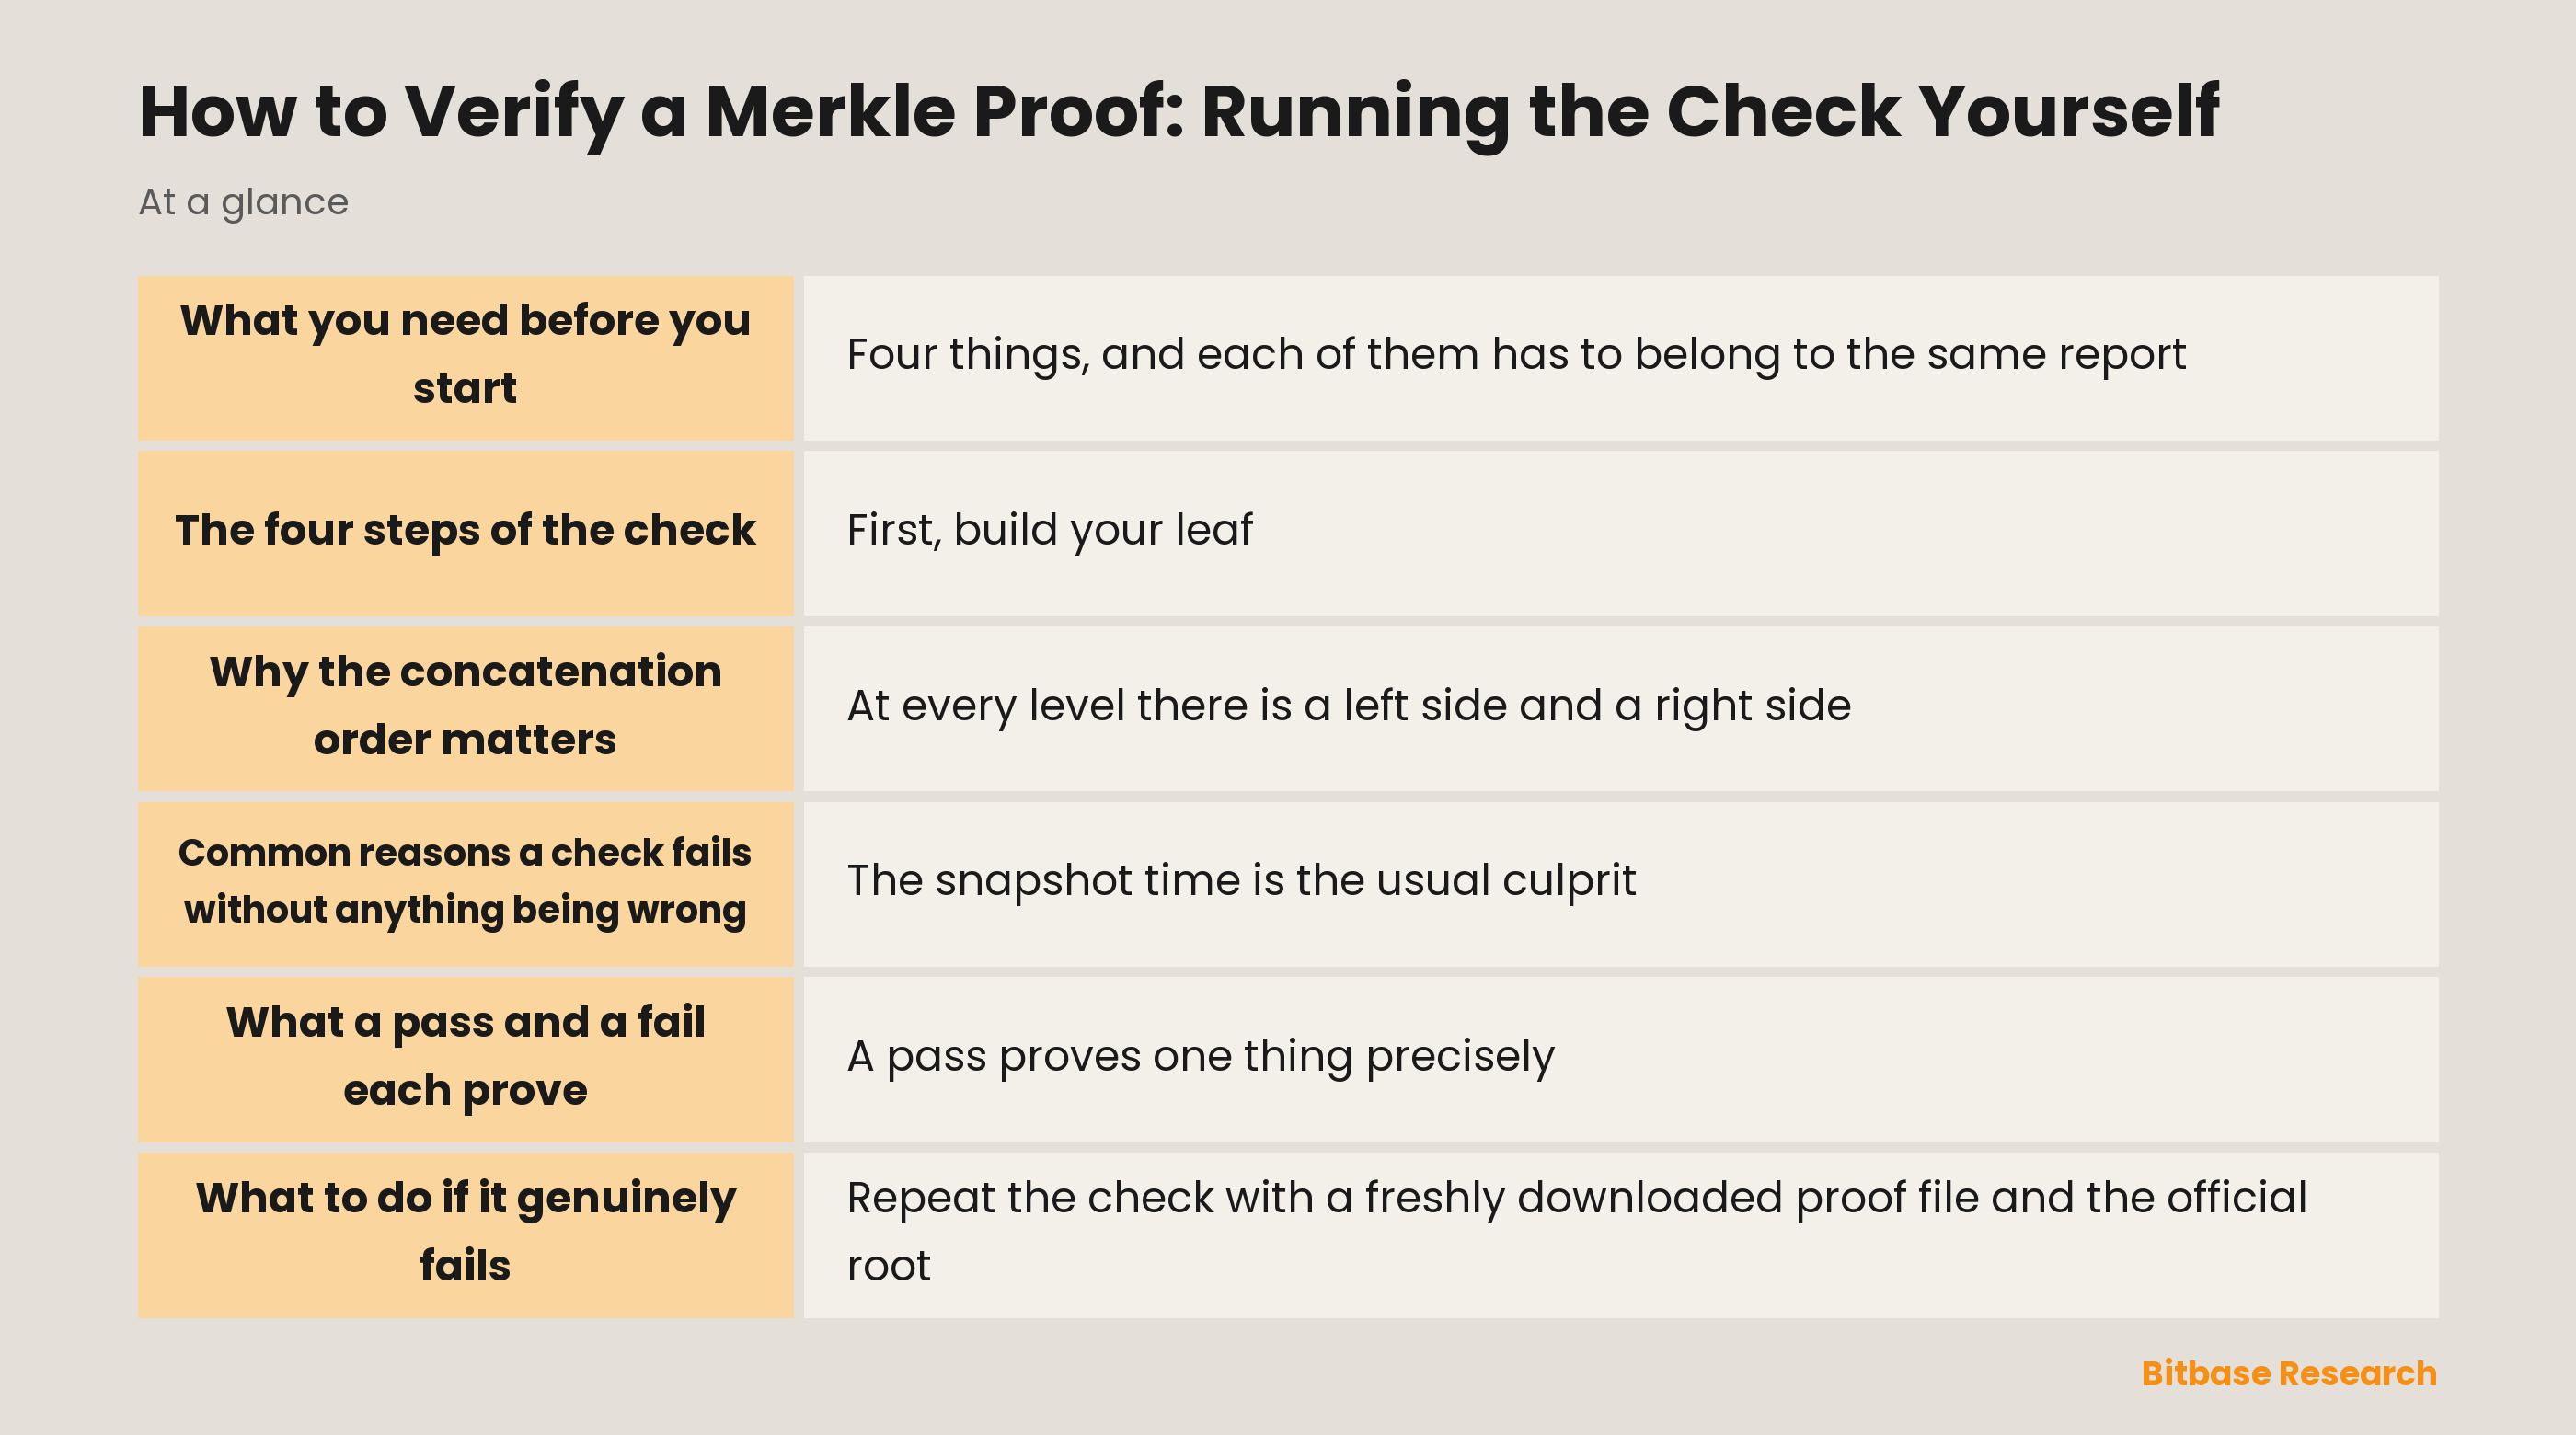
Four things, and each of them has to belong to the same report. Your own proof file, the published root for that period, the algorithm version the report names, and the snapshot time the report used.
Mixing periods is the single most frequent mistake. A proof file from one month checked against another month's root will fail, correctly, and tells you nothing except that you used the wrong pair.
The proof file itself contains your leaf data and a short list of sibling hashes. It is small, usually a few dozen values, because the path from a leaf to a root grows very slowly even when the tree contains millions of accounts. The structure behind that is described in Merkle trees in proof of reserves.
Outcomes and what each means
| Outcome | What it means | What to do next |
|---|---|---|
| Computed root equals published root | Your row was in the committed set | Nothing further; keep the file |
| Computed root differs | An input does not match the published tree | Re-download and retry before concluding |
| The tool rejects the file | It is malformed or from another period | Check the period on the file you downloaded |
| Unknown algorithm version | Your verifier is older than the disclosure | Use the version the report names |
| Leaf hash does not match your balances | You are hashing a different record | Confirm snapshot time and the asset list |
| No published root for the period | There is nothing to check against | Ask when that period will be published |
Read the third column as a sequence rather than a menu, because the cheap explanations should be eliminated first and they usually turn out to be the right ones. Only the second row is potentially serious, and even it is usually an input problem. The right instinct on a mismatch is to eliminate the boring explanations before reaching for the interesting one.
The four steps of the check
First, build your leaf. The verifier assembles the exact text the specification calls for, hashes it, and that hash is the bottom of your path. This is the step where a wrong snapshot time or a different asset ordering produces a leaf that was never in the tree.
Second, walk upward. At each level the verifier joins your current hash with the sibling from the proof file and hashes the pair, producing the hash one level up, and repeats until the list of siblings is exhausted.
Third, compare. The value you end up with is either identical to the published root or it is not, and there is no partial credit. Fourth, and easy to skip, confirm that the root you compared against is the one the exchange actually published rather than a copy from an unofficial source.
Why the concatenation order matters
At every level there is a left side and a right side, and hashing them in the wrong order gives a completely different result. This is not a subtlety in the mathematics; it is the single most common bug in hand-written verifiers.
The proof file therefore records, for each sibling, which side it belongs on. Your verifier has to follow that instruction rather than deciding for itself, and in particular it must not sort the two values before hashing, which is a shortcut that looks reasonable and silently breaks everything.
There is a simple way to test whether your own tool has this bug: run it twice on the same proof with the sides deliberately swapped and confirm that only one of the two runs produces the published root. If a check fails and the inputs look correct, this is the first thing to suspect in any tool you wrote or modified yourself. A verifier published alongside the report will already handle it, which is one practical argument for using the published one at least once.
Common reasons a check fails without anything being wrong
The snapshot time is the usual culprit. Your balance today is not your balance at the moment the tree was built, and hashing today's numbers produces a leaf that legitimately does not appear.
Formatting differences come next. Balances are written to a fixed number of decimal places and assets appear in a fixed order, so a record assembled by hand can be numerically correct and textually different, which changes the hash completely.
A related trap is copying your balance from a screen that rounds it for display, since the rounded figure and the stored figure are different strings even when they describe the same amount. Finally, version drift. A disclosure that has moved to a newer algorithm version will not verify with an older tool, and a tool updated ahead of a disclosure has the same problem in reverse. Matching the version named in the report removes an entire class of confusing failures.
What a pass and a fail each prove
A pass proves one thing precisely: the record you hashed was inside the tree whose root was published. That is your inclusion, and it is genuinely yours rather than something you were told.
It does not prove that everyone else was included, that the assets exist, or that the balances covered everything you are owed. A Merkle proof answers a membership question and stays silent on the rest, which is the boundary set out in the limitations of proof of reserves.
It is worth being deliberate about that narrowness, because a check that proves one thing exactly is more useful than a claim that gestures at several. A fail, after the boring causes are ruled out, is a question worth raising rather than a verdict. It means the record you believe describes your account does not appear under the published root, and the party that produced both is the one who can explain the difference.
What to do if it genuinely fails
Repeat the check with a freshly downloaded proof file and the official root, because a stale or partially downloaded file explains most of these. Keep both files rather than overwriting them.
Then check the same thing for the previous period if one is available. A failure that appears in one period and not others is a different situation from a persistent one, and the distinction matters when you describe it.
If it still fails, raise it with the exchange and include the period, the root you compared against and the version of the verifier you used. That is enough for someone to reproduce what you did, and reproducibility is what makes a report actionable. The wider check around this one is covered in how to verify proof of reserves.
The bottom line
Verifying a Merkle proof is a short mechanical procedure: build your leaf, walk the sibling path upward respecting left and right, and compare the result with the published root. Most failures come from mismatched periods, formatting or versions rather than from anything being wrong.
A pass tells you that your own row was committed to, which is a fact you established rather than accepted. That is a small claim precisely stated, and small claims precisely stated are what make the rest of the disclosure readable. For more from Bitbase Academy, keep reading.
Related reading
Other Bitbase articles on this topic:
- Merkle Trees vs Zero-Knowledge Proofs of Reserves: The Privacy Trade-Off
- Why a Fiat Deposit or Withdrawal Is Pending
- Exchange Account Risk Controls
- What Is a Blockchain Bridge?
- How to Keep Your Cryptocurrency Safe
Disclaimer: This article is educational content from Bitbase Academy, provided for information only. It does not constitute investment, trading, tax, or financial advice. Crypto assets are volatile; assess your own risk. Written as of September 2026; refer to the latest official information.
References
[1] Bitbase, Proof of Reserves — monthly disclosure, Merkle root and open-source verifier www.bitbase.com