
A proof of reserves is only worth what you can check yourself, and there are exactly three checks. Whether your own balance was included in the snapshot, whether the root hash you compute from your proof matches the one the exchange published, and whether the reserve ratio for each asset clears one hundred percent. Each rules out a different failure, and an exchange that does not let you run all three has published a claim rather than a proof.
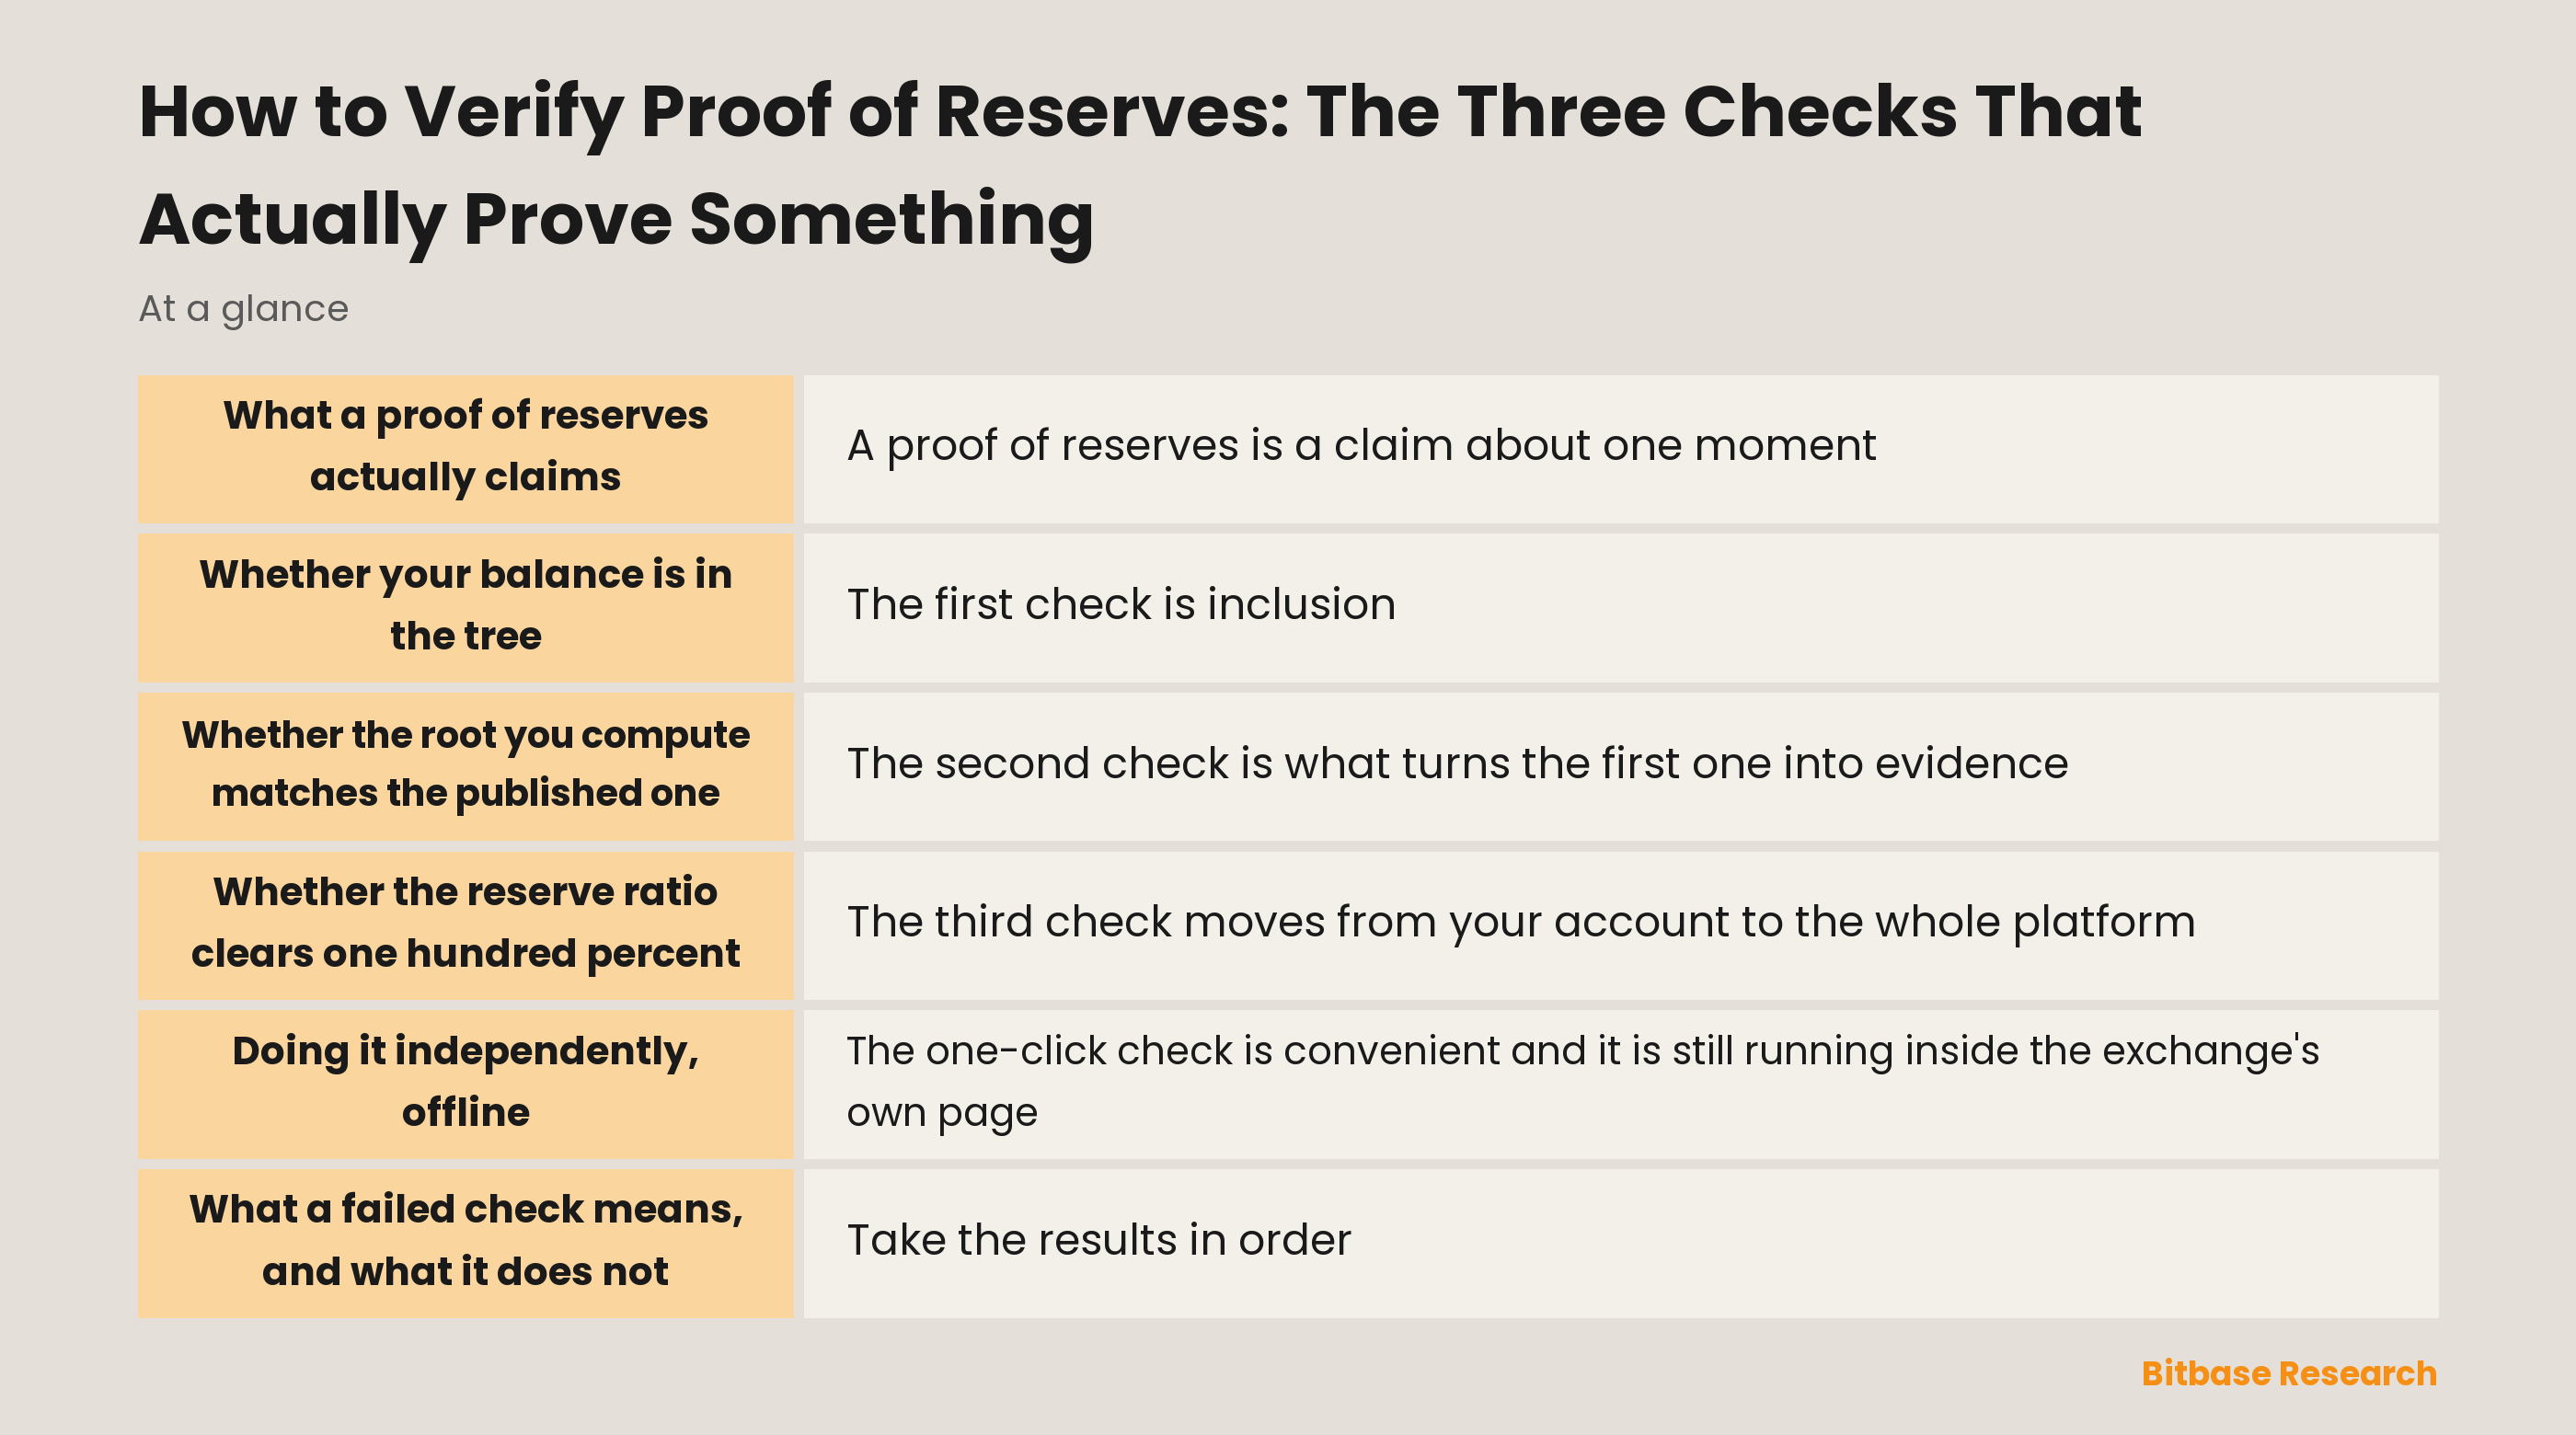
What a proof of reserves actually claims
A proof of reserves is a claim about one moment. The exchange takes a snapshot of every user balance, builds a cryptographic structure over those balances, publishes a single hash summarising the whole set, and separately shows what it holds on-chain against them.
Two halves make up the claim, and they fail in different ways. The user half says your balance was counted. The reserve half says the assets exist to cover the total that was counted. Neither is much use without the other, because an exchange could count everyone honestly and still be short, or hold plenty and quietly omit large accounts from the total.
That is why the checks come in threes rather than one. Each of them closes a door that the other two leave open.
The three checks, and what each one rules out
| Check | What you compare | What it rules out |
|---|---|---|
| Inclusion | Your balance against the leaf in your proof file | The exchange leaving your account out of the total |
| Root match | The hash you compute against the published root | The exchange altering the snapshot after publishing |
| Reserve ratio | On-chain holdings against user liabilities per asset | The exchange counting honestly but holding too little |
None of the three is optional and none substitutes for another. If an exchange publishes a ratio but no per-user proof, you cannot tell whether your account was in the denominator. If it publishes a proof but no root, you have arithmetic with nothing to check it against.
Whether your balance is in the tree
The first check is inclusion, and it is the one only you can perform, because only you know what your balance was. Log in, open the asset report, choose the disclosure period you want to verify, and run the verification the platform provides.
What happens under the hood is worth understanding even if the button does it for you. Your leaf is a record of your own balances at the snapshot moment, hashed. Your proof file contains the sibling hashes needed to walk from that leaf up to the root, one level at a time. The verification recomputes that walk.
A well-built implementation does this in your browser, using only the data already on your machine, without sending your verification data back to the server. That property matters: the point of the exercise is to check the exchange, so a check the exchange performs for you and reports the result of is not the same thing. Bitbase's implementation and how to run it are set out in how to verify Bitbase proof of reserves.
Whether the root you compute matches the published one
The second check is what turns the first one into evidence. Recomputing your path gives you a root hash. That number has to equal two things: the root recorded in your own proof file, and the root the exchange published on its public disclosure page.
Both comparisons are needed. Matching only the proof file proves the file is internally consistent, which a dishonest exchange could arrange trivially by handing you a file built around a different tree. Matching the public root is what ties your account to the set everyone else was shown.
The reason this works is a property of the structure rather than a promise. Change one balance anywhere in the tree, add an account, or remove one, and the root comes out completely different. The exchange therefore cannot edit the snapshot after publishing the root without every user's check failing at once. The structure itself is explained in what is proof of reserves.
Whether the reserve ratio clears one hundred percent
The third check moves from your account to the whole platform. The reserve ratio is on-chain holdings divided by user liabilities, and 100% is the line: at or above it, holdings cover balances for that asset.
Read it per asset rather than in aggregate. An exchange can be comfortably over on one coin and short on another, and an aggregate figure hides exactly that. A disclosure that reports one blended number across everything it custodies is telling you less than it appears to.
Read the coverage list too. A disclosure covering four assets says nothing about the fifth, which is a scope limit rather than a flaw, but only if you notice it. What the ratio does and does not establish about the liability side is covered in proof of reserves and liabilities.
Doing it independently, offline
The one-click check is convenient and it is still running inside the exchange's own page. For a check that depends on nothing the exchange controls at the moment you run it, download the verification data and use an open-source verifier on your own machine.
An open verifier is the part that makes the whole exercise adversarial rather than cooperative. You can read what it does, run it with no network connection, and confirm that the arithmetic is the arithmetic that was described. Bitbase publishes such a tool and the leaf format it operates on, which means the offline path is available rather than theoretical.
Do this at least once. After you have seen the offline result agree with the in-page result, the convenient button is a reasonable thing to use for subsequent periods.
What a failed check means, and what it does not
Take the results in order, because the most common failure is not a failure. A report that your assets are not in the snapshot usually means you had no balance in the covered assets at the snapshot moment, which happens if you registered or deposited afterwards; those funds land in the following period.
A root that does not match is different and it is serious. Before escalating, confirm you compared against the published root for the same period, since disclosures are periodic and the roots differ from one to the next. If period, file and published root are all aligned and the hashes still differ, that is the check doing its job.
A ratio below one hundred percent on an asset is a third kind of finding, and it is a statement about the platform rather than about your account. It says holdings did not cover balances for that asset at that moment, which is exactly the situation the disclosure exists to make visible.
The bottom line
Verifying a proof of reserves means running three checks and accepting none of them as a substitute for the others. Confirm your balance is in the tree, confirm the root you compute matches the one published for that period, and confirm the reserve ratio for each covered asset is at or above 100%.
The precondition for all three is that the exchange publishes what you need: a per-user proof path, a public root hash, per-asset ratios, and ideally an open-source verifier so the last step does not depend on its code. Where any of those is missing, what you are looking at is an assertion. Where all of them are present, you can settle the question yourself in a few minutes. For more from Bitbase Academy, keep reading.
Related reading
Other Bitbase articles on this topic:
- Merkle Trees vs Zero-Knowledge Proofs of Reserves: The Privacy Trade-Off
- Why a Fiat Deposit or Withdrawal Is Pending
- Exchange Account Risk Controls
- Hammer and Shooting Star Candlesticks
- Moving Average Crossovers: Golden and Death Cross
Disclaimer: This article is educational content from Bitbase Academy, provided for information only. It does not constitute investment, trading, tax, or financial advice. Crypto assets are volatile; assess your own risk. Written as of September 2026; refer to the latest official information.
References
[1] Bitbase, Proof of Reserves — monthly disclosure, Merkle root and open-source verifier www.bitbase.com