
A Bitbase withdrawal is a four-step flow with one irreversible moment in it. You choose the coin, enter the destination address and its network, review the amount against the network fee, then confirm with a security check. Identity verification raises your daily limit, address whitelisting speeds up repeat withdrawals, and once the transaction is submitted on-chain nobody can call it back.
What happens when you press withdraw
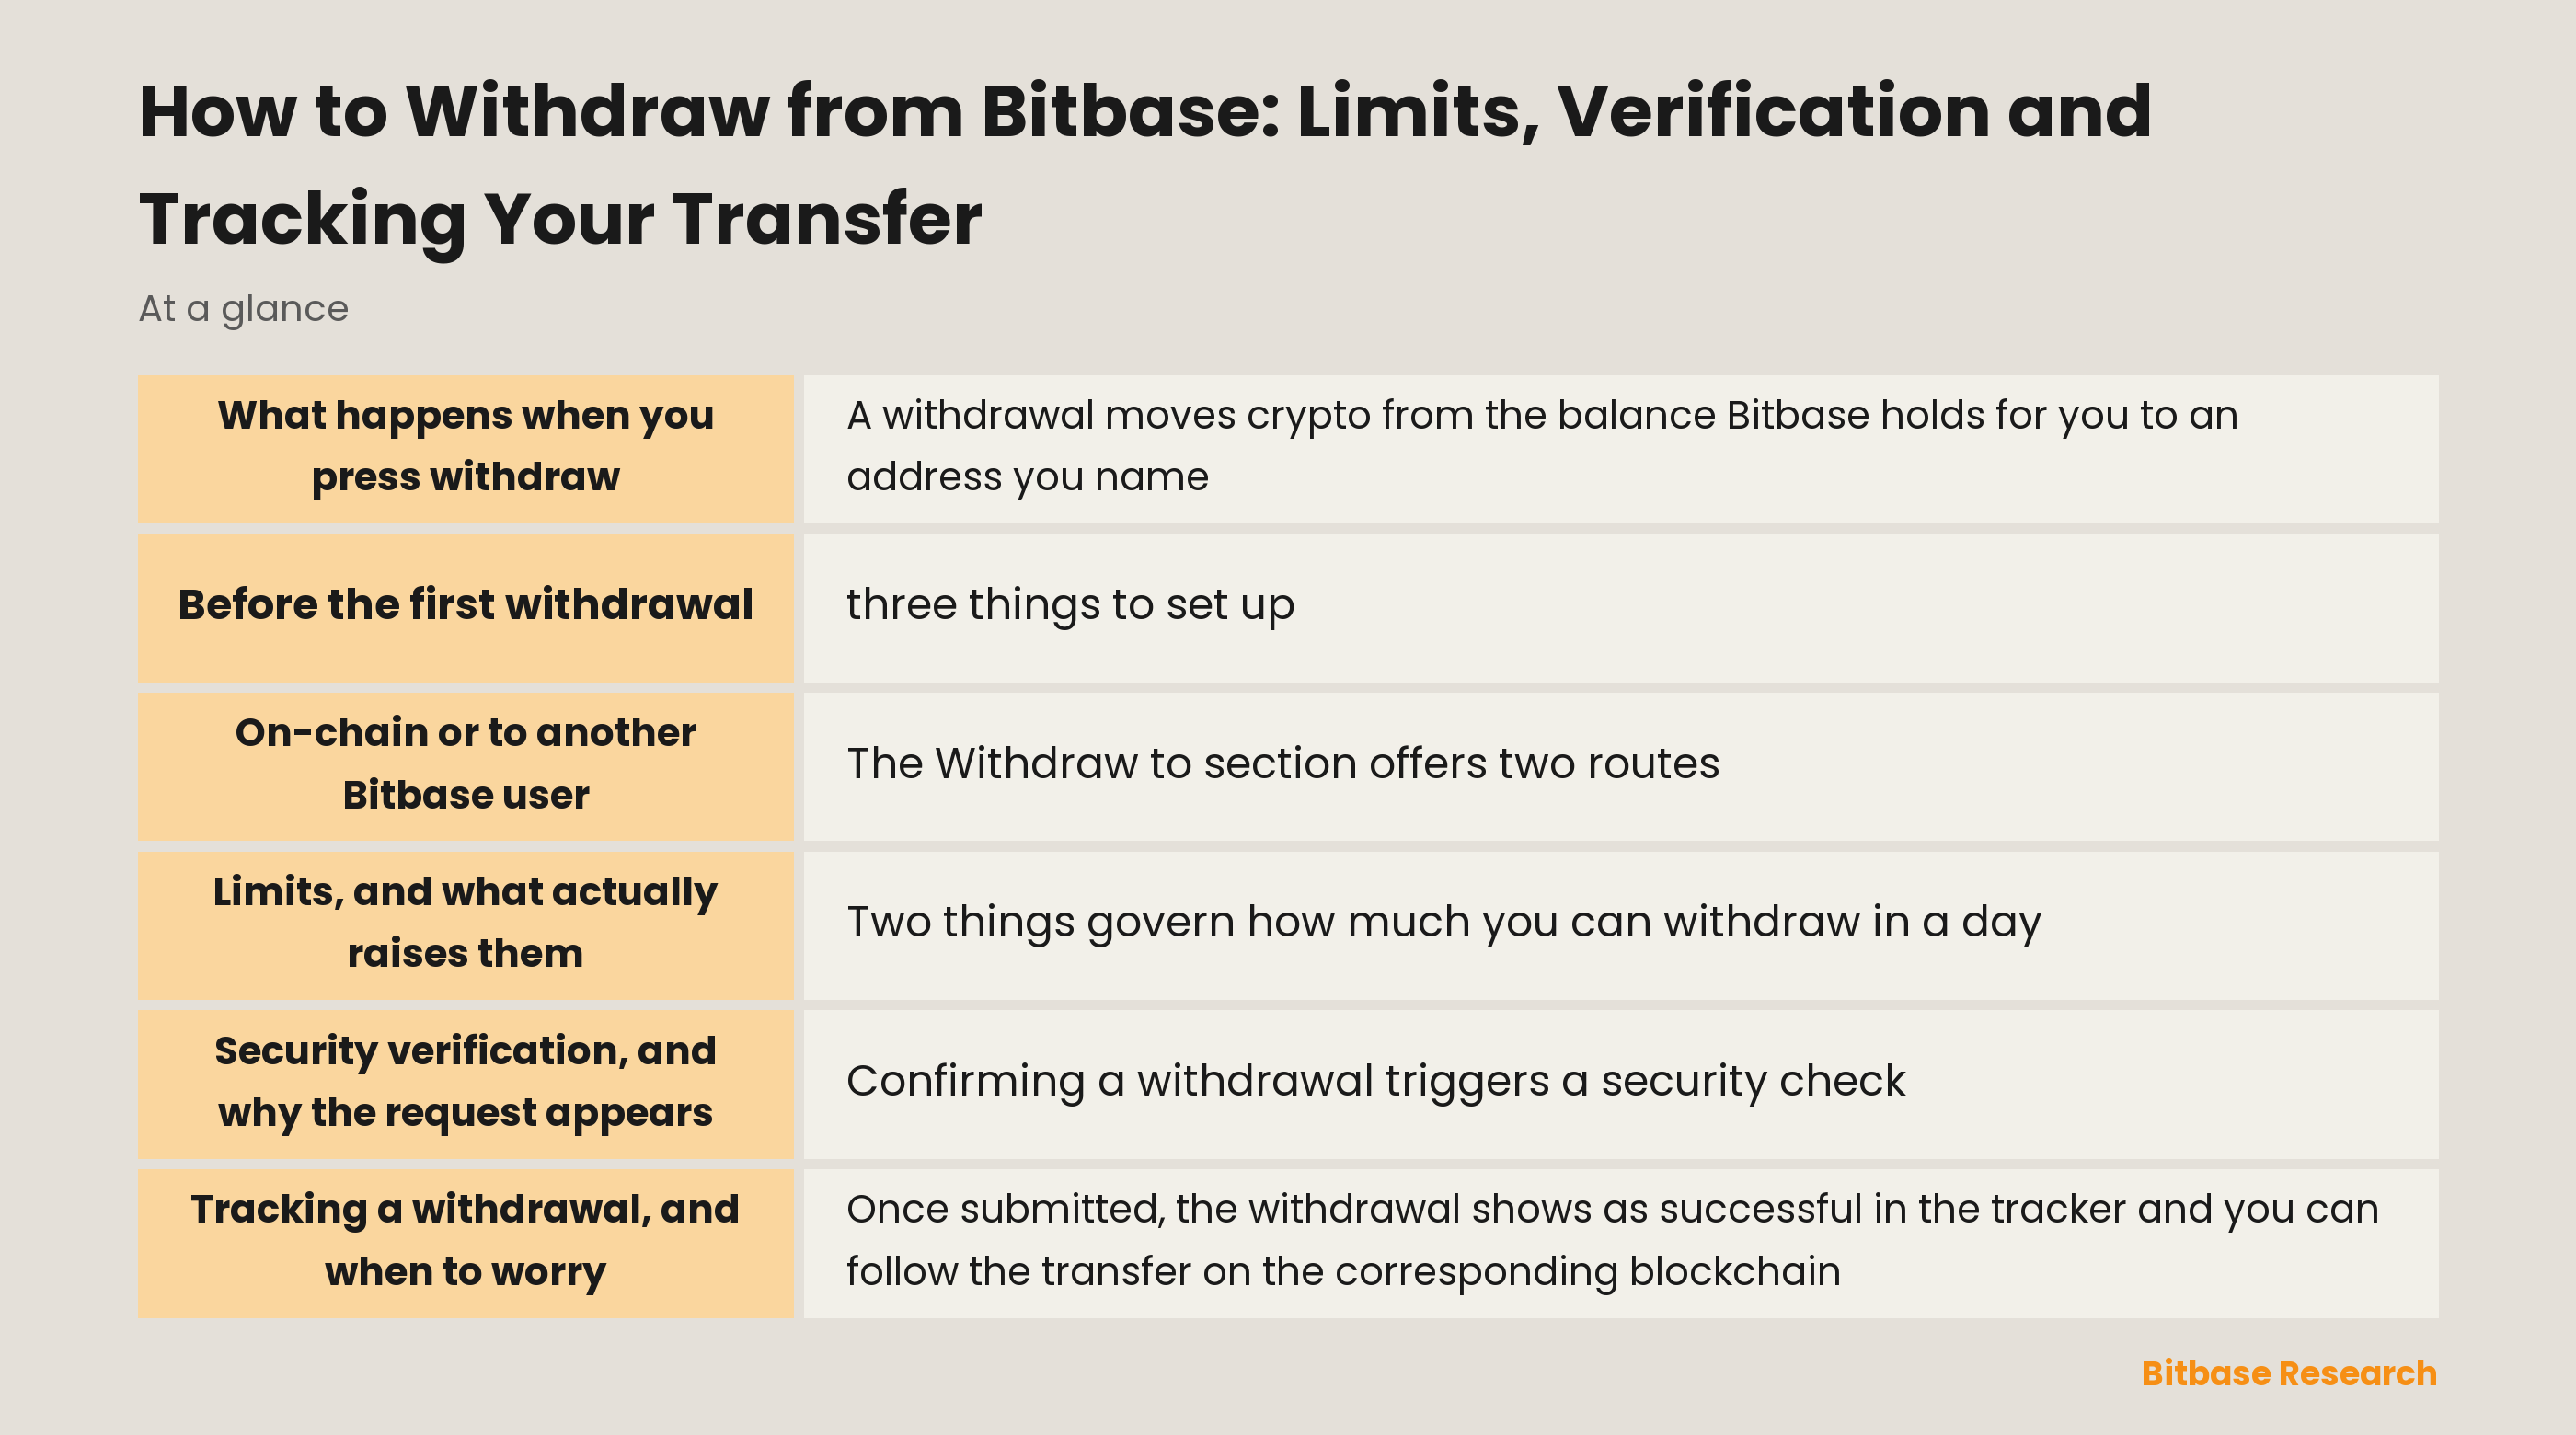
A withdrawal moves crypto from the balance Bitbase holds for you to an address you name. Bitbase checks the request, signs a transaction, and broadcasts it to the network you selected. From that moment the transfer belongs to the blockchain.
That handover is the reason the review step matters more than any other. On-chain withdrawals cannot be reversed once submitted, which Bitbase's own withdrawal flow states plainly at the confirmation stage. There is no clearing house to call and no chargeback to file.
The practical reading is that everything protective has to happen before you confirm. After confirmation your only remaining tool is a block explorer, and it can only tell you where the money went, not bring it back.
Before the first withdrawal: three things to set up
Complete identity verification first, because it raises your withdrawal limit. Bitbase's own product tutorial gives the figure as up to 500,000 USDT per day once verification is done, and limits are a function of that verification alongside your account tier.
Second, have the destination ready and verified. That means a receiving address you generated yourself from the platform or wallet that will hold the funds, on a network you have confirmed that destination supports.
Third, decide whether the address is one you will reuse. Bitbase lets you save a destination as a whitelisted address and enable Quick Withdrawal for next time, which turns a repeated risk into a one-time one. Setting it up on a calm day is better than doing it during a withdrawal you are in a hurry to finish.
The withdrawal form, field by field
| Field | What it does | What to check |
|---|---|---|
| Select Coin | Chooses the asset to send | That it is the asset the destination expects |
| Withdraw to | Address for on-chain, or Bitbase User | Which of the two you actually want |
| Address / Domain | The destination | First and last characters against the source |
| Network | The chain the transfer rides | That the destination supports exactly this chain |
| Quantity | How much leaves | The Credit Amount after the network fee |
| Confirmation | Submits the request | The whole row above, one last time |
A four-step tracker runs alongside the form, from initiating the withdrawal through selecting the type and confirming the amount to the final success state. The version with screenshots is in the official tutorial, how to deposit and withdraw crypto on Bitbase Web.
On-chain or to another Bitbase user
The Withdraw to section offers two routes. The Address tab sends on-chain to any wallet, and the Bitbase User tab transfers internally to another account on the platform, which Bitbase describes as a free internal transfer.
The internal route avoids the blockchain entirely, so there is no network fee, no confirmation wait and no chance of a chain mismatch. When the recipient is also on Bitbase, it is strictly the better option on all three counts.
The on-chain route is what you need for a wallet you control yourself or for any destination elsewhere. It carries a network fee set by the chain rather than by the platform, and the structure of that cost is set out in Bitbase withdrawal fees.
Limits, and what actually raises them
Two things govern how much you can withdraw in a day: your verification status and your account tier. Verification is the first and larger lever, and it is also the faster one, since a tier is earned over thirty-day windows while verification is a one-time process.
Your VIP level raises withdrawal limits as part of its benefits, alongside lower trading fees and priority support. It does not discount the network fee, because that part is paid to the blockchain rather than to Bitbase. How the level itself is calculated is set out in the Bitbase VIP fee guide.
If a withdrawal is rejected for exceeding a limit, the answer is usually one of three: complete verification, split the withdrawal across days, or check whether the amount is below the minimum for that coin and chain rather than above the maximum.
Security verification, and why the request appears
Confirming a withdrawal triggers a security check, which may ask for two-factor authentication, an email code or an SMS code. It is deliberately the last step, because it is the point at which an attacker who has your password but not your devices gets stopped.
That design also explains the most common attack aimed at ordinary users. Anyone asking you to read out a verification code, on any channel, is trying to complete a withdrawal you did not start. Bitbase's own safety notes are unambiguous: never share verification codes or passwords, and Bitbase will never ask you for them.
If a message claiming to be from Bitbase asks for anything of the kind, treat the channel itself as the thing to check. The official channel verifier and how to use it are covered in how to verify official Bitbase channels.
Tracking a withdrawal, and when to worry
Once submitted, the withdrawal shows as successful in the tracker and you can follow the transfer on the corresponding blockchain. A transaction hash is the thing to look for, because it is what turns a support question into an answerable one.
With a hash, the situation is legible. Pending on the explorer means the network has not confirmed it yet, and the wait belongs to the chain. Confirmed on the explorer but missing at the destination usually means the receiving service has its own crediting delay or its own confirmation threshold, which is their timetable rather than Bitbase's.
Without a hash, the request has not left the platform yet, and the answer lies in your account status rather than on-chain: a review in progress, a limit reached, or a security check not completed. That distinction tells you where to look, and it is worth making before assuming anything has gone wrong. Funding an account in the first place works the same way in reverse, as described in how to deposit on Bitbase.
The bottom line
Withdrawing from Bitbase is four steps: pick the coin, enter the address and network, review the amount against the network fee, and confirm with a security check. Identity verification raises your daily limit to as much as 500,000 USDT, and whitelisting an address makes repeat withdrawals both faster and safer.
Two habits carry most of the safety. Match the network on both sides and check the address character by character before confirming, because the on-chain step cannot be undone; and never share a verification code with anyone, because that code is the last thing standing between an attacker and your balance. For more from Bitbase Academy, keep reading.
Related reading
Other Bitbase articles on this topic:
- Can You Cancel a Crypto Transaction?
- Bitbase Futures Fees: The Full USDT-M Schedule and What a Round Trip Costs
- Why a Contract Interaction Fails After a Successful Simulation
- Intents and Solver Networks: How Intent-Based Bridging Works
- Omnibus vs Segregated Wallets and Rehypothecation Risk
Disclaimer: This article is educational content from Bitbase Academy, provided for information only. It does not constitute investment, trading, tax, or financial advice. Crypto assets are volatile; assess your own risk. Written as of September 2026; refer to the latest official information.
References
[1] Bitbase, How to Deposit and Withdraw Crypto on Bitbase — Web (official product tutorial) www.bitbase.com